Preventing Fiber Window Spotting
Maintain optimal cutting perform by utilizing these techniques to minimize window spotting
by Tim Tapper, Applications Manager at Mazak Optonics Corp.

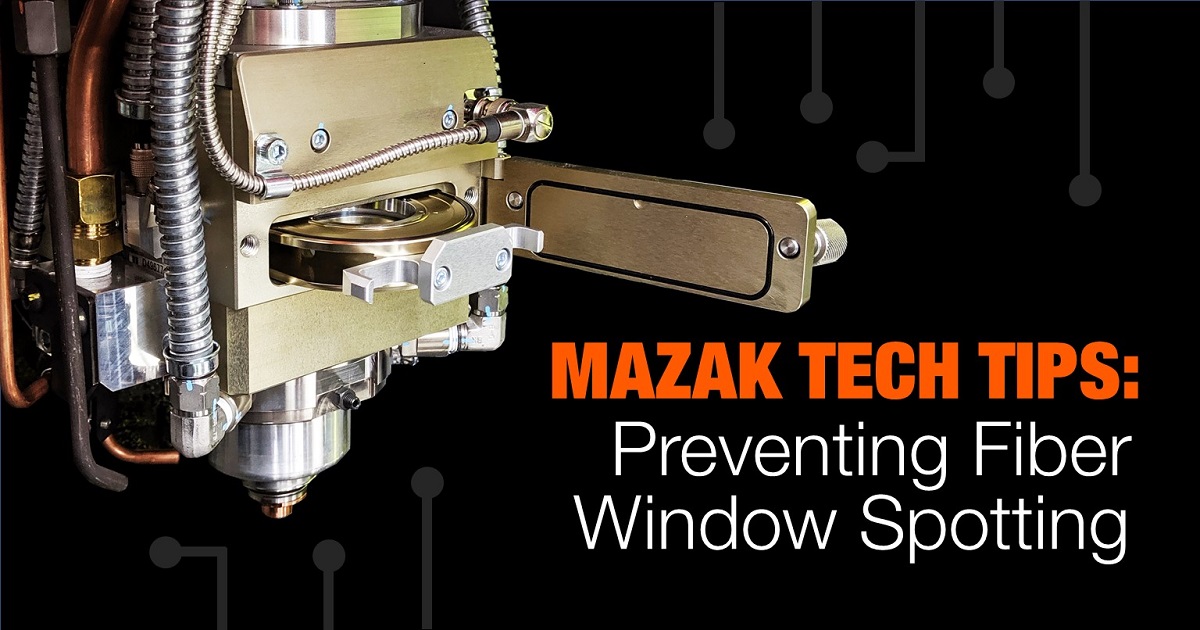
All fiber laser systems contain a protective window located between the nozzle tip and focus lens. This window is a sacrificial barrier which prevents sparks and cutting debris from depositing itself on the bottom of the focus lens. It is important that this window remains clean to maintain optimal cutting performance.
The protective window is considered a consumable part, therefore eliminating spotting entirely is not possible. There are techniques that can be implemented which will dramatically increase the lifespan of the window. Signs that the window requires maintenance include loss of cut, reduced cutting speeds, and deteriorating cut quality. Discover how the following techniques reduce unwanted spotting on the protective window.
Torch Maintenance
Spotting of the protective window will happen eventually. Periodic cleaning or replacement will be required and should not be cause for alarm unless the frequency of window replacement approaches several times a week. If excessive window spotting occurs, before altering the cutting parameters on the current job, ask yourself the following questions first.
“Have you successfully processed this material before?”
“Have you changed the material grade or steel supplier?”
“Have you been experiencing poor cutting on any other materials as well?”
If this material is something that has been processed successfully before, comes from a known supplier, and the machine has been cutting all other materials well, the first step should be routine maintenance of the window and cutting head.
1) Clean or replace the window as needed
2) Check the nozzle tip for damage or excess debris
3) Check the lower nozzle assembly for damage
4) Check the height sensor electrical connection
5) Perform the automatic height sensor calibration
By performing these simple maintenance tasks, it is likely you will be able to correct the cutting issue and improve your cutting performance. But if the issues and window spotting continues, you may need to take additional steps to adjust cutting parameters. In most cases, a simple adjustment to the pierce setup and assist gas pressure can drastically reduce window spotting.
Cutting Parameter Adjustments
If window spotting is observed on a new grade of steel or on material which is processed infrequently, adjustments to the Tech Table parameters for that material may be necessary. Window spotting normally occurs during the piercing process. There are several key parameters that can contribute to window spotting if they are set incorrectly. After performing the torch maintenance items discussed previously, making the following adjustments to the Tech Table for the current material will reduce unwanted window spotting.
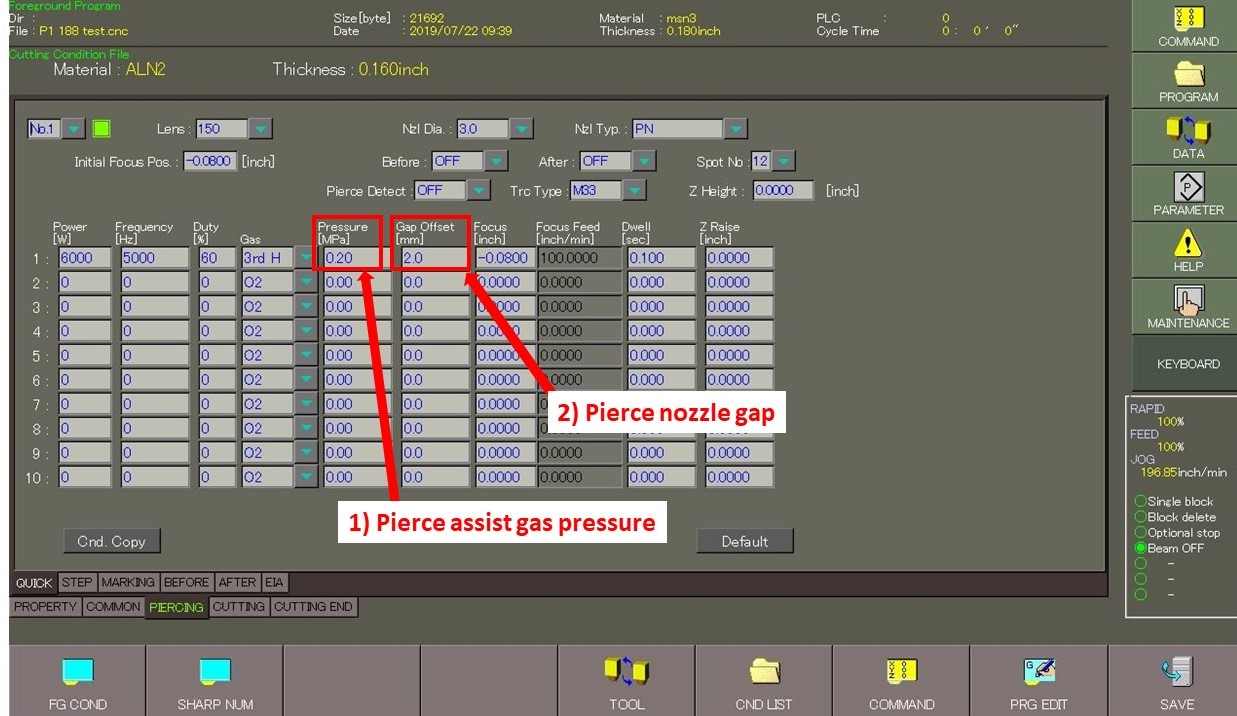
Quick Pierce Tab of the Tech Table
The QUICK PIERCE tab of the Tech Table controls the parameters associated with piercing through the metal. The two fields of interest are piercing gas pressure and nozzle gap. Increasing both gas pressure and nozzle gap will reduce window spotting.
1) Increase assist gas pressure to 0.5 MPa or higher (N2 Processes only)
Note: Oxygen pierce pressure should not exceed 0.1 MPa
2) Increase the nozzle gap to a value of 3mm or higher. (6mm max)

Cutting End Tab of the Tech Table
The CUTTING END tab of the Tech Table controls the amount of assist gas exiting the nozzle during positioning movements between features. Constant gas flow through the nozzle will prevent debris from traveling up the nozzle tip and also ensures that enough gas is already flowing as the torch approaches the next pierce location. There are two fields in the CUTTING END tab which could contribute to window spotting if not set properly.
1) Ensure the Assist Gas During Positioning, gas type matches your pierce
2) Ensure the Assist Gas During Positioning, gas pressure matches your pierce
3) Set the Gap Offset before Elliptical, value to 1mm higher than the pierce gap

Finding the source of window spotting can be difficult, especially when it appears to be occurring randomly. To reduce the window spotting, you must determine which material(s) are causing the problem. When looking for troublesome materials, check the condition of the protective window before and after each job. When it is determined that spotting occurs for a specific material, follow the steps described above to correct the problem.
For more information, please contact Mazak customer support at 1-888-MAZAK-US.

