| Pallet size | 630 mm × 630 mm |
| Tool shank (standard) | BT50 |
| Max. spindle speed | 10000 min-1 (rpm) |
| Max. workpiece size | Φ1050 mm × 1000 mm |
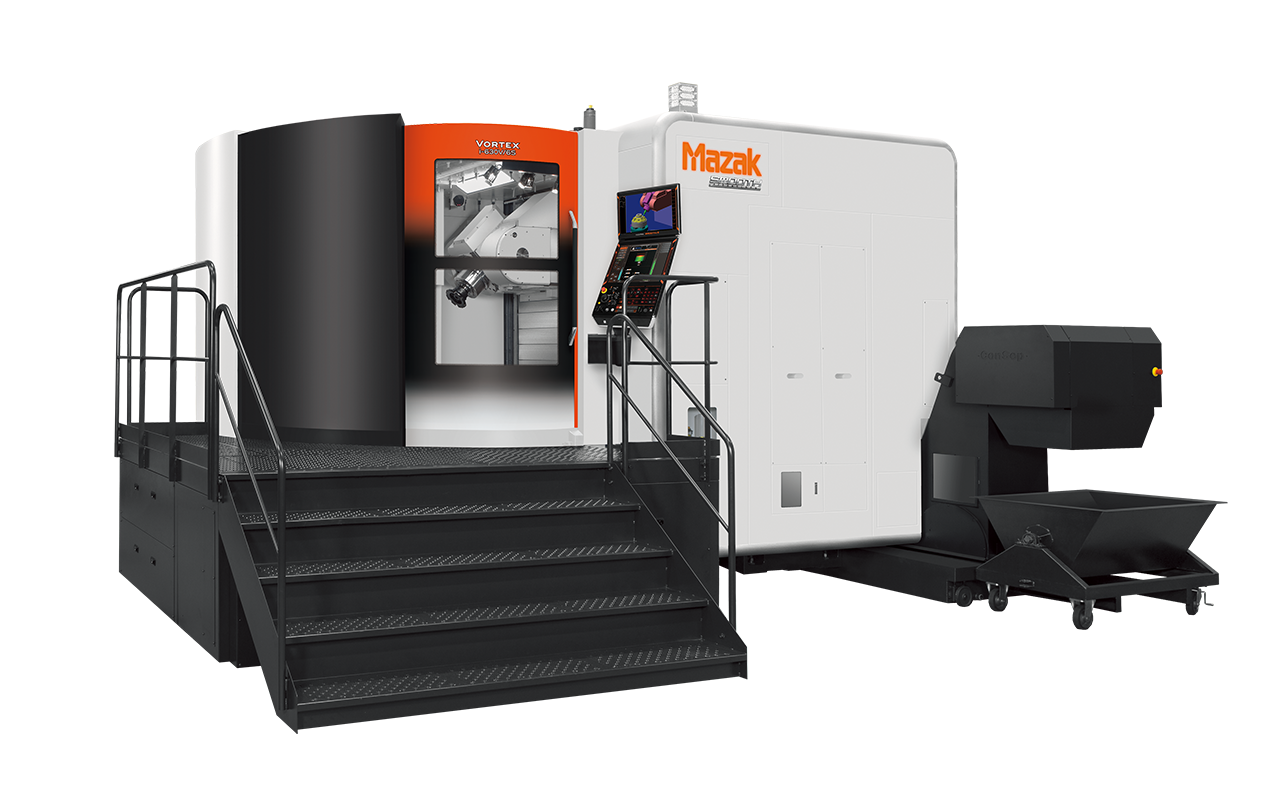
5-Axis Machining Centers
VORTEX i-V
- Parts machining, which used to require multiple processes, can be completed in a single setup. This not only reduces the in-process inventory and lead-time, but it improves simultaneous machining accuracy.
- In addition to multi-surface machining, 5- axis free-form machining is possible
Highly rigid structure for stable high-accuracy machining
High-precision function as standard equipment
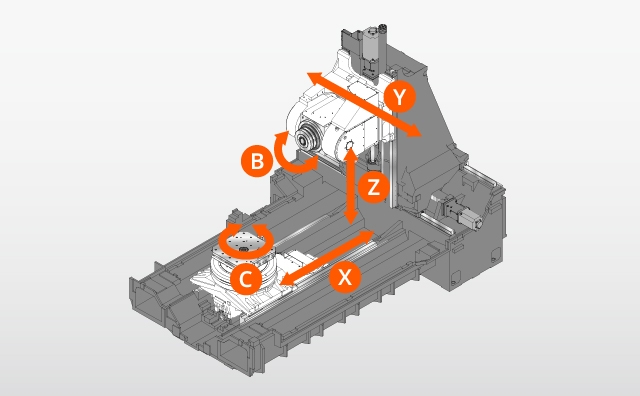
- Linear roller guides utilized on all axes
Linear roller guides with excellent rigidity are utilized in the X-, Y- and Z-axes to achieve powerful cutting and high-accuracy machining. - B-axis roller gear cam
Elimination of backlash ensures high accuracy and high efficiency machining. (over the rotary positioning range of 150 degrees, positioning accuracy is two times better than the ISO standard) - C- axis roller gear cam
The NC rotary table utilizes a roller gear cam for high accuracy machining over extended periods of operation and can be indexed in 0.0001° increments. - Cone coupling
The pallet and table are clamped by cone couplings to ensure high rigidity and high repeatable positioning accuracy when changing pallets. - Y-axis slant structure
The slanted structure of the Y-axis roller guide mounting surface ensures stable machining by absorbing the cutting load during machining.
Enhanced milling performance for high productivity
Three milling spindles are capable of machining a wide range of materials from steel to non-ferrous materials
BT50, 10000 min-1 Milling spindle
Standard spindle designed for applications such as cast iron, steel and non-ferrous material.
Achieves high efficiency machining for a wide variety of workpieces.
| Max. Spindle Speed | 10000 min-1 (rpm) |
| Output (40% ED / cont. rating) | AC 37 kW (50 HP) / AC 30 kW (40 HP) |
| Max. torque (40% ED / cont. rating) | 353 N・m (36.0 kgf・m) / 248 N・m (25.3 kgf・m) |
BT50, 5000 min-1 Milling spindle (Optional)
Designed for high torque machining, such as rough machining of cast iron and steel.
| Max. Spindle Speed | 5000 min-1 (rpm) |
| Output (40% ED / cont. rating) | AC 37 kW (50 HP) / AC 30 kW (40 HP) |
| Max. torque (40% ED / cont. rating) | 715 N・m (73.0 kgf・m) / 525 N・m (53.6 kgf・m) |
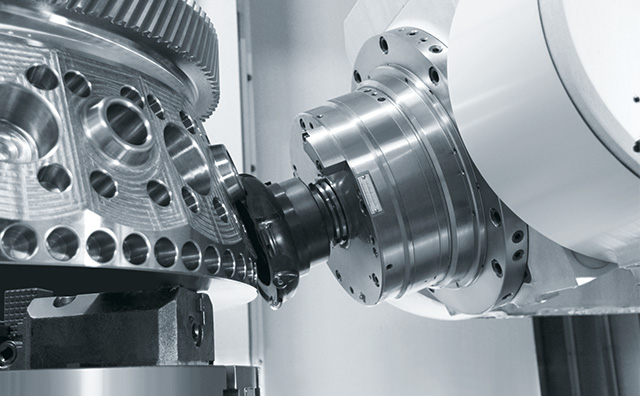
HSK-T100, 15000 min-1 Milling spindle (Optional)
Ensures high speed machining of non ferrous materials and difficult-to-cut materials. It enables highly efficient machining to a variety of materials.
| Speed | 15000 min-1 (rpm) |
| Output (40% ED / cont. rating) | AC 56 kW (75 HP) / AC 45 kW (60 HP) |
| Max. torque (40% ED / cont. rating) | 143 N・m (14.6 kgf・m) / 118 N・m (12.0 kgf・m) |
BBT50, HSK-T100, CAPTO C8 (Optional)
High-speed spindle utilizing two-face contact tool holders for high-rigidity machining.
Designed for minimum interference
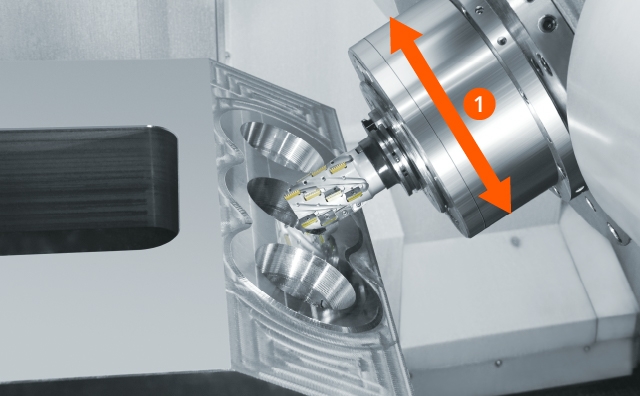
The compact milling spindle headstock design minimizes workpiece interference. Not only does it increase processing area,it allows shorter tools to be used for increased machining performance and accuracy.
- 1: Φ299 mm
High-accuracy machining with advanced technology
Smooth Ai spindle (Optional)
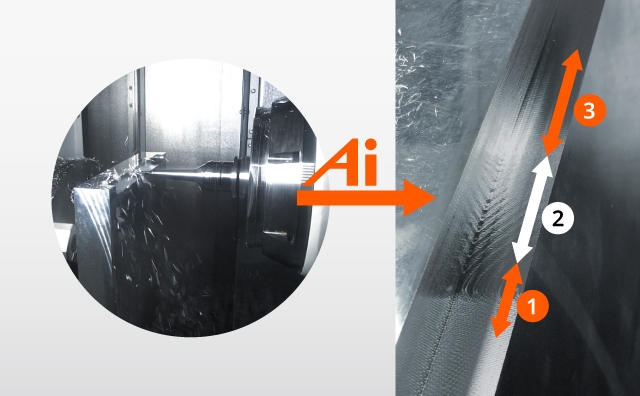
Mazak's unique AI adaptive control improves productivity and machined surface quality. If chatter vibration occurs during milling, the vibration sensor and AI adaptive control automatically change the machining conditions to suppress the chatter vibration.
SMOOTH MACHINING CONFIGURATION
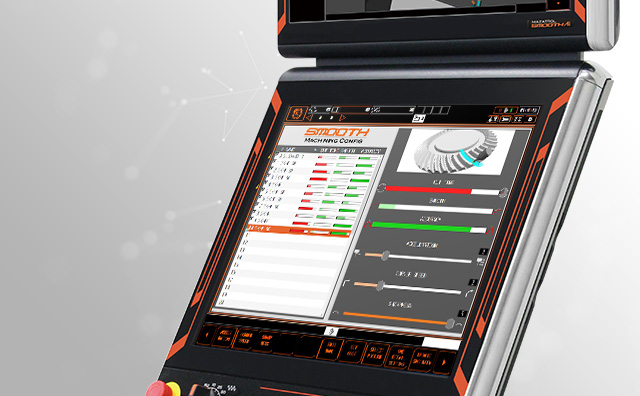
Machining parameter tuning function
Machining features including cycle time, finished surface, and machining shape can be adjusted according to material requirements and machining methods. Since operator can easily adjust and change settings, it is especially effective for complex workpiece contours defined in small program increments.
MAZA-CHECK
High accuracy 5-axis calibration
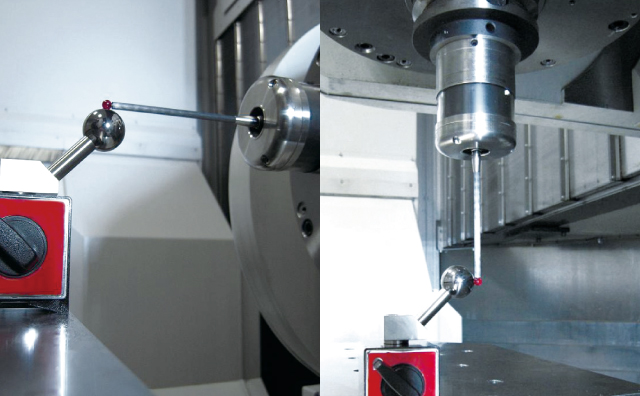
To ensure 5-axis machining accuracy, MAZA-CHECK measure and calibrate three values; first is the distance between the milling spindle center and table center of rotation (X-axis direction and Y-axis direction), second is the deviation between the B-axis center of rotation and the milling spindle center, and third is the offset amount between the B-axis center of rotation and the milling spindle edge surface. This calibration process is done automatically using a standard sphere, touch sensor*, and measurement macro.
- * The RMP-600 wireless type high precision touch sensor is required.
Tool magazine development for a variety of workpieces and production volumes
Tool Transport System
The machine's utilization significantly increases by the extended automatic operation time The number of stored tools in the machine magazine can be minimized, and special tools can be shared among machines.
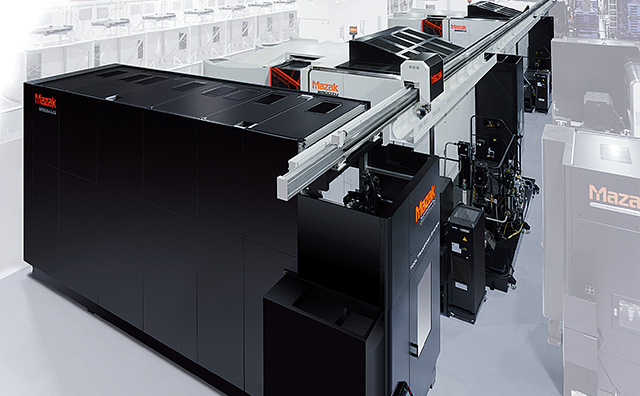
TOOL HIVE
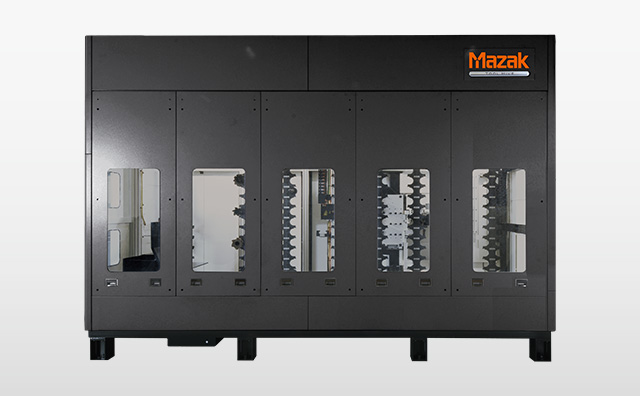
The TOOL HIVE can store more than 240 tools in a small space. Operation and tool data editing can be performed on the TOOL HIVE TERMINAL control panel to reduce the time required for tool setup.
